Making Dehydrated Fruit Leather from Fresh Summer Fruits: Simple Recipes & Tips

Preserve the bounty of fresh summer fruit by making dehydrated fruit leather – it’s fun, easy, & delicious! Here’s how to get started…
- Homemade fruit leather is surprisingly simple — all you need is ripe fruit, a blender, and a dehydrator (or even just an oven).
- 2 cups of pureed fruit makes one 13″ x 15″ sheet of fruit leather — fresh, frozen, or canned all work.
- Light-colored fruits like peaches and apples brown quickly — a simple lemon juice trick solves this instantly, and we cover exactly how much to use.
- Drying time and temperature matter more than most people realize — get it wrong and you end up with sticky, underdone leather or a brittle, over-dried sheet.
- Homemade fruit leather can last up to one month at room temperature and significantly longer when stored properly in the freezer.
Summer fruit sitting on your counter is about 48 hours away from becoming the best snack you’ve made all year!
Fruit leather gets a bad reputation for being complicated or requiring special equipment, but that couldn’t be further from the truth. At its core, making dehydrated fruit leather is just pureeing ripe fruit and drying it low and slow until it transforms into a chewy, rollable sheet. The hardest part is honestly just waiting for it to finish drying.
For homegrown food enthusiasts or homesteaders looking to explore food preservation without a steep learning curve, homemade fruit leather is one of the most rewarding places to start!

Image from www.bakedbyrachel.com.
Fruit Leather Is Easier to Make Than You Think
Why Homemade Beats Store-Bought Every Time
Store-bought fruit rolls are loaded with added sugar, corn syrup, and artificial flavoring. When you make fruit leather at home, you control every single ingredient. You can skip the sugar entirely if your fruit is ripe enough, or add just a touch of honey to balance tart flavors. You can mix fruits that would never appear together on a grocery store shelf, and you can use up fruit that’s just past its prime before it goes to waste — which is one of the biggest practical advantages of making your own.
What You Actually Need to Get Started
You don’t need much. Here’s a basic equipment list to get going:
- Blender or food processor — for pureeing the fruit smooth
- Food dehydrator with solid liner sheets — the solid liner sheets are essential, as liquid puree will ooze right through mesh trays and make a mess
- Offset spatula or silicone spatula — for spreading the puree evenly to about ⅛ inch thick
- Lemon juice or ascorbic acid — to prevent browning in light-colored fruits
- Plastic wrap or parchment paper — for rolling and storing the finished leather
If you don’t have a dehydrator, a standard oven set to its lowest temperature (usually around 140°F to 170°F) with the door propped slightly open works as a solid alternative. It’s less energy-efficient but completely viable.
The Best Summer Fruits for Fruit Leather
Almost any fruit can become leather, but summer offers the most flavorful options. Ripe or slightly overripe fruit is actually ideal here — the natural sugars are at their peak concentration, which means better flavor and a more pliable finished product without needing much added sweetener.
High-Pectin Fruits That Hold Together Best
Pectin is the natural fiber found in fruit that acts as a binding agent. Fruits higher in pectin produce leathers with better structure and a satisfying chew. Strawberries, peaches, apricots, plums, and mangoes are among the best summer options. Applesauce deserves a special mention here — it’s one of the most reliable extenders you can blend into almost any fruit puree to improve texture and help the leather hold its shape during and after drying.
Stone fruits like peaches and apricots are particularly well-suited because their lower water content means shorter drying times compared to high-moisture fruits like watermelon.

Image from theurbannanna.com.
Fruits to Avoid or Use Sparingly
High-water-content fruits like watermelon, cantaloupe, and citrus can be tricky. Watermelon, for example, has such a high water content that it takes dramatically longer to dry and often produces a fragile, sticky leather that doesn’t roll cleanly. If you love these flavors, blend them in small proportions with a lower-moisture fruit like strawberry or peach rather than using them as the sole base.
Quick Reference: Summer Fruits for Fruit Leather
Fruit Works Alone? Best Mixed With Notes Strawberry Yes Banana, peach Vibrant color, great flavor Peach Yes Mango, honey Add lemon juice to prevent browning Mango Yes Lime, pineapple Naturally high sugar content Apricot Yes Applesauce Short drying time Watermelon No Strawberry Too high water content alone Plum Yes Peach, apple Tart, balances sweet fruits well
How to Prepare Fruit Puree for Leather
- Wash all fresh fruit thoroughly in cool water
- Remove all peels, seeds, pits, and stems before blending
- Cut fruit into rough chunks — no need to be precise
- Use 2 cups of fruit per 13″ x 15″ sheet of leather
- Blend until completely smooth — no chunks should remain
- Check consistency: the puree should be pourable but not watery
- For canned fruit: drain first, reserve the liquid to thin the puree if needed
The puree consistency is one of the most important factors in getting even, well-dried leather. Too thick and it won’t spread evenly, leaving you with uneven drying where thin edges over-dry while the center stays sticky. Too thin and it takes much longer to dry and can run off the edges of your tray. Think of the texture of a smoothie that’s just slightly thicker than drinkable — that’s the sweet spot.
Fresh vs. Frozen vs. Canned Fruit: What Changes
Fresh fruit gives you the brightest flavor and the most control. But frozen fruit is actually an excellent choice as well — it’s typically picked and frozen at peak ripeness, and once thawed, it blends into a smooth puree effortlessly. The main difference is that frozen fruit releases more liquid as it thaws, so you may need to drain some of that excess moisture before blending to keep the puree from being too thin.
Canned fruit works well in a pinch. Drain it thoroughly and save that liquid — you can add it back a tablespoon at a time if your puree ends up too thick to pour. The flavor will be slightly more muted than fresh or frozen, but the finished leather is still genuinely delicious.
How to Prevent Browning in Light-Colored Fruits
Peaches, apricots, apples, and pears all share one frustrating trait — they oxidize fast. Cut a peach and leave it on the counter for ten minutes and you’ll already see the surface turning an unappetizing brownish color. In a finished fruit leather, this browning affects both appearance and flavor, making your leather look dull and taste slightly off.
The fix is straightforward. For every 2 cups of light-colored fruit puree, add either 2 teaspoons of fresh lemon juice or ⅛ teaspoon of ascorbic acid (375 milligrams). Both work equally well — lemon juice adds a subtle brightness to the flavor while ascorbic acid is a bit tart, but otherwise flavor-neutral if you want the fruit to speak for itself. Stir it directly into the blended puree before spreading.
When and How to Sweeten Your Puree
Truly ripe summer fruit often needs no sweetener at all. Taste your puree before adding anything — if it’s already sweet and flavorful, leave it alone. The drying process naturally concentrates the fruit’s sugars, so the finished leather will taste noticeably sweeter than the raw puree. That said, if your fruit is slightly tart or underripe, a small amount of sweetener makes a real difference.
- Honey — adds a floral depth, works especially well with peach and apricot
- Agave nectar — mild flavor, blends invisibly into the puree
- Maple syrup — adds a subtle warmth, pairs beautifully with berry-based leathers
- White sugar — straightforward sweetness, dissolves easily into the puree
- Dates or banana — natural whole-food sweeteners that also add body to the puree
Whatever you choose, add sweetener gradually — start with one teaspoon per cup of puree and taste as you go. Remember that the leather will taste sweeter once dried, so resist the urge to over-sweeten at the puree stage.
One thing to avoid is adding too much liquid sweetener to an already thin puree. If your fruit is very juicy and the puree is on the thinner side, opt for a dry sweetener or use a very small amount of honey to keep the consistency workable.
Using Applesauce as an Extender
Applesauce is the secret weapon of homemade fruit leather. It blends seamlessly into virtually any fruit puree, adds natural pectin that improves the leather’s structure and chew, and helps stretch your batch further without diluting the flavor significantly. Unsweetened applesauce is the best choice here — it lets the primary fruit flavor stay front and center while doing its quiet structural work behind the scenes.
A good starting ratio is roughly ½ cup of applesauce per 1½ cups of primary fruit puree. This gives you the full 2-cup volume needed for a standard 13″ x 15″ tray while noticeably improving the finished texture. It’s particularly useful when working with high-moisture fruits that might otherwise produce a fragile, hard-to-roll leather.

Image from diynatural.com.
Dehydrator Settings and Timing for Perfect Leather
- Always use solid liner sheets or plastic wrap on your dehydrator trays — never bare mesh
- Spread puree to exactly ⅛ inch thick — thicker patches will remain sticky long after edges are done
- Keep puree at least ½ inch from tray edges to prevent dripping
- Set dehydrator temperature to 140°F (60°C) for food-safe, even drying
- Do not overlap puree or allow trays to touch each other during drying
- Rotate trays every few hours if your dehydrator has uneven airflow
Spreading the puree evenly is genuinely the most skill-dependent part of the whole process. Use an offset spatula and work in slow, deliberate strokes from the center outward. Hold the spatula nearly flat against the surface rather than at a steep angle — this gives you the most control over thickness and prevents you from inadvertently creating thin spots at the edges.
If you’re using plastic wrap instead of commercial liner sheets, lay it flat across the tray and secure the edges by tucking them slightly underneath. Some people lightly spray the plastic wrap with cooking spray, but this is generally unnecessary if the leather dries properly — it should peel away cleanly on its own.
One tray typically yields about 12 to 14 strips of fruit leather when cut into standard 1-inch-wide rolls, making a single batch genuinely worthwhile for snack prep, hiking food, or school lunch packing.
Ideal Temperature and Drying Time
The target temperature for drying fruit leather in a dehydrator is 140°F (60°C). This is hot enough to safely dry the fruit and inhibit bacterial growth without cooking the puree, which would compromise both color and flavor. Going higher might seem like it would speed things up, but temperatures above 160°F tend to harden the outer surface before the interior is fully dry — trapping moisture and creating that sticky, underdone center that feels done until you roll it up.
Drying time varies based on the fruit’s water content, the thickness of your spread, and your specific dehydrator model. As a general guide, most fruit leathers take between 6 to 8 hours at 140°F. High-moisture fruits or thicker spreads can push that to 10 hours or more. Start checking around the 6-hour mark rather than walking away and assuming it’s done.
If you’re using an oven instead of a dehydrator, set it to the lowest possible temperature — ideally 140°F to 170°F — and prop the door open about 2 to 3 inches with a wooden spoon to allow moisture to escape. Oven drying typically takes a similar amount of time but requires more attention since temperature control is less precise.
Drying Time Guide by Fruit Type
Fruit Type Approximate Drying Time Notes Strawberry 6–8 hours Check edges at 6 hours Peach / Apricot 6–8 hours Lower moisture, dries efficiently Mango 7–9 hours High sugar content, stays tacky longer Plum 7–9 hours Dense puree, may need extra time Mixed berry 6–8 hours Strain seeds for smoother texture Watermelon blend 9–12 hours High moisture, mix with lower-water fruit
How to Tell When Fruit Leather Is Done
The touch test is your most reliable indicator. Press the center of the leather lightly with your fingertip — it should feel dry and slightly tacky but should not stick to your finger or leave any residue. The surface should look glossy and smooth rather than wet or shiny with moisture. If any part of the leather feels soft, cool, or wet to the touch, it needs more time. Edges always dry faster than the center, so always test the thickest middle section.
Peel back a small corner while the leather is still warm. It should release cleanly from the liner without tearing. If it sticks aggressively or tears when you try to lift it, give it another 30 to 60 minutes and test again. Once cooled completely, properly dried leather will have a matte finish and a pliable, non-sticky surface that rolls without cracking. For more detailed instructions, check out this DIY fruit leathers guide.
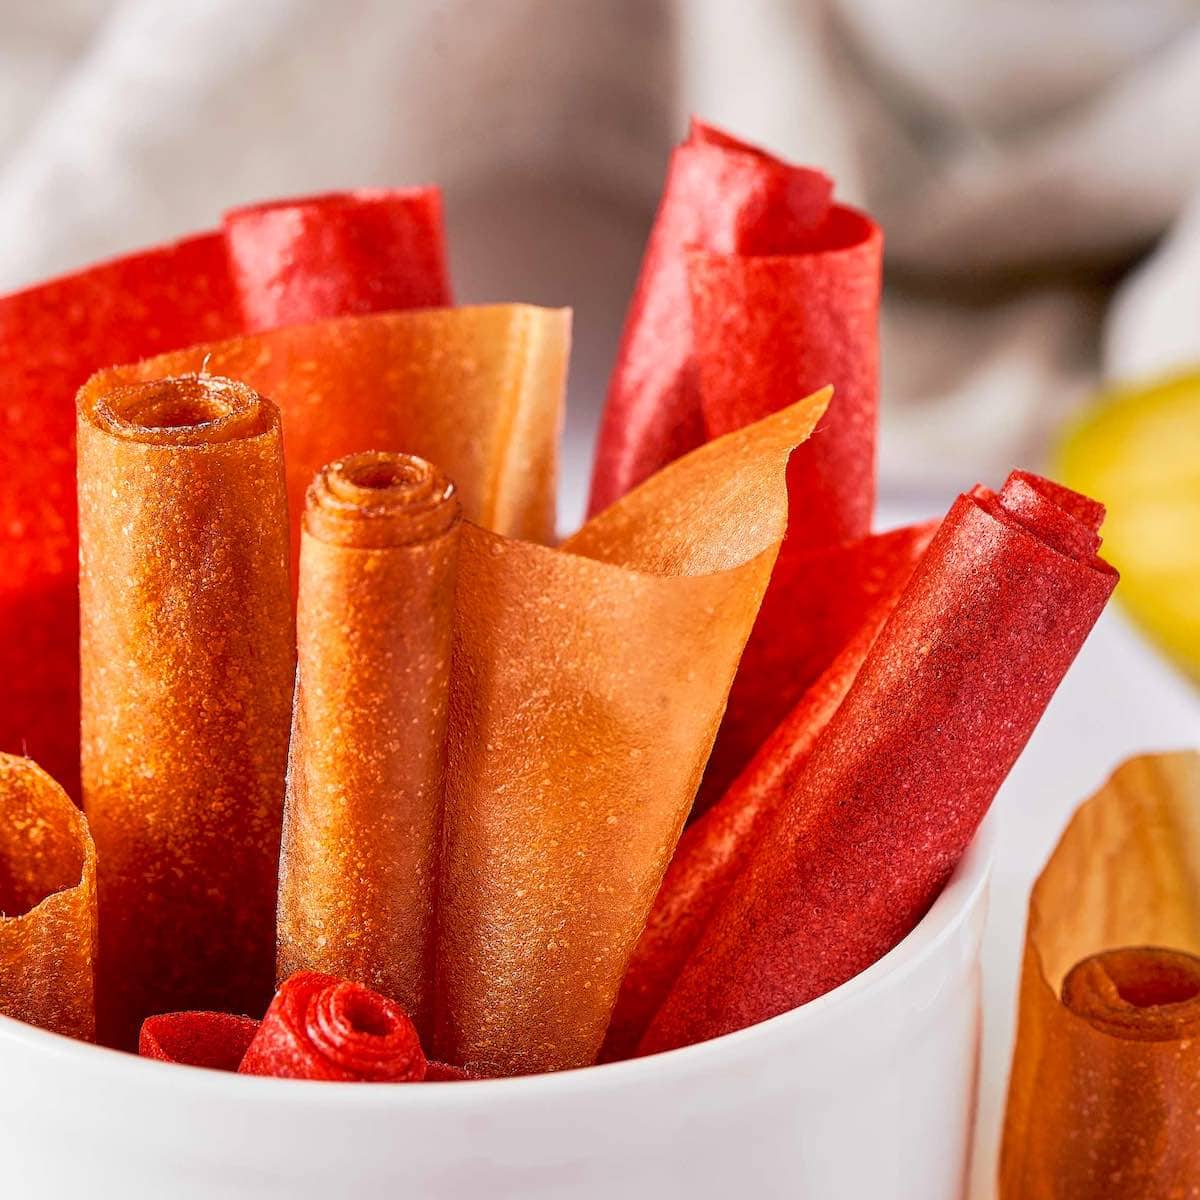
Image from thebigmansworld.com.
3 Summer Fruit Leather Recipes to Try First
These three recipes cover a range of flavors — classic, floral, and tropical — and each one uses peak-season summer fruit for maximum flavor payoff. All recipes make one standard 13″ x 15″ sheet and follow the same basic process: blend, sweeten if needed, spread, and dry at 140°F until done.
1. Strawberry Fruit Leather
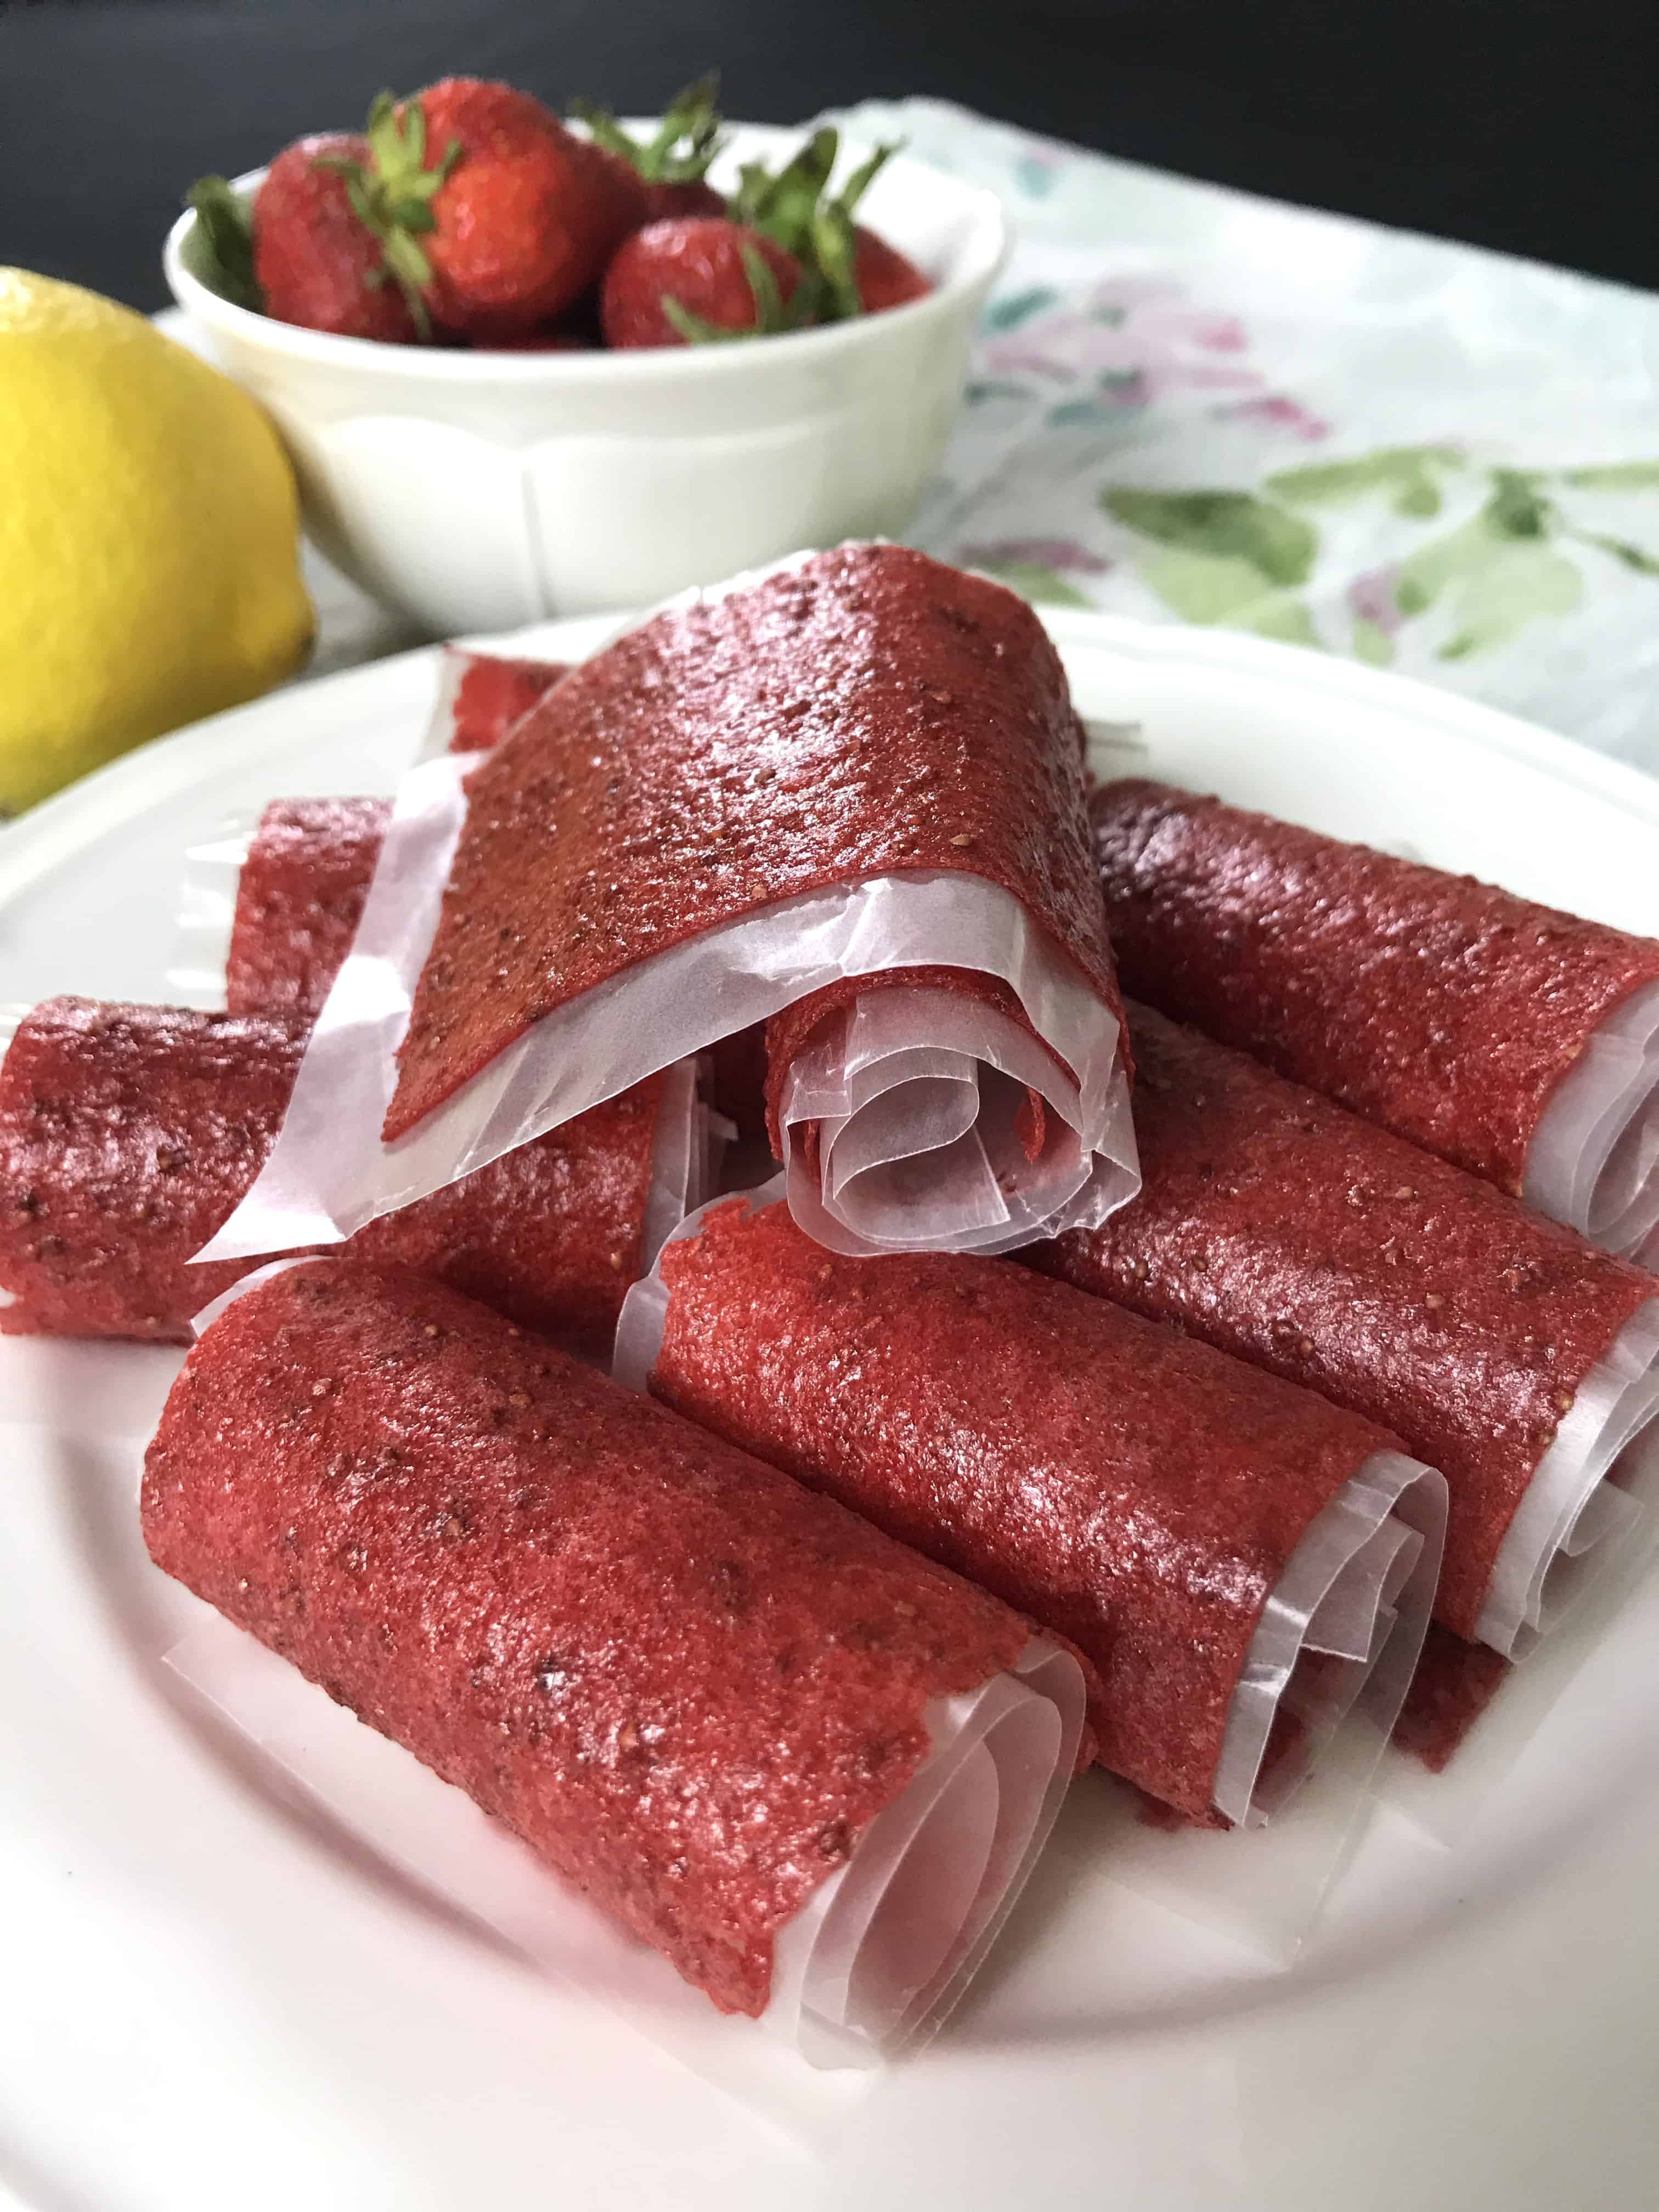
Image from www.aubreeoriginals.com.
Strawberry Fruit Leather
Ingredient Amount Fresh strawberries, hulled 2 cups Fresh lemon juice 1 teaspoon Honey (optional) 1–2 teaspoons
Strawberry leather is the most beginner-friendly recipe in this collection for good reason — ripe strawberries are naturally sweet, blend into a perfectly smooth puree without any straining, and dry to a gorgeous deep red color that looks as good as it tastes. The lemon juice here serves double duty: it prevents any oxidation and brightens the berry flavor considerably.
Hull the strawberries and blend until completely smooth. Taste the puree — if your berries are at peak summer ripeness, you likely won’t need any honey at all. Add lemon juice, blend once more, and pour onto a lined dehydrator tray. Spread to ⅛ inch thick and dry at 140°F for 6 to 8 hours.
Once done, cut into 1-inch strips using scissors or a pizza wheel and roll each strip in a piece of parchment paper. Strawberry leather keeps well at room temperature for up to two weeks when stored in an airtight container, and up to one month in the refrigerator.
2. Peach Honey Fruit Leather
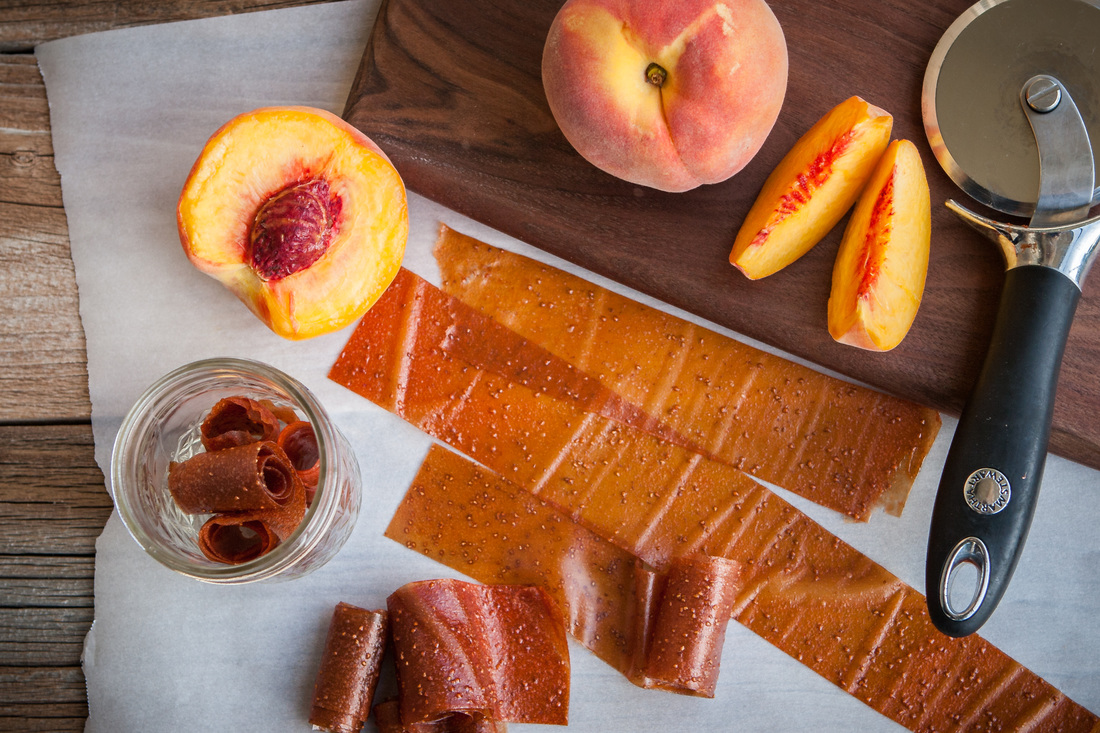
Image from plainnoodles.weebly.com.
Peach leather is summer in a strip! Use the ripest, most fragrant peaches you can find — the kind that drip juice when you bite into them. Peel and pit them first, then blend with a drizzle of honey and 2 teaspoons of lemon juice per 2 cups of puree to keep that beautiful golden color from turning brown during the long drying process. The honey deepens the natural floral notes of the peach without masking them, making this one of the most crowd-pleasing flavors you can make.
3. Mango Lime Fruit Leather

Image from www.jugglingactmama.com.
Mango and lime is the kind of flavor combination that makes people ask for the recipe immediately after tasting it. Use ripe Ataulfo (honey) mangoes if you can find them — they have a silkier texture and less fibrous flesh than Tommy Atkins varieties, which means a smoother puree with less effort. Peel, pit, and cube 2 cups of mango flesh, then blend with the juice of one fresh lime and a pinch of fine sea salt. The salt is a small but meaningful addition — it sharpens the tropical sweetness and makes the lime pop in a way that sugar alone never could!
Taste the puree before spreading. Ripe mangoes are naturally high in sugar and rarely need any added sweetener. If you want a more intense lime flavor, add ½ teaspoon of fresh lime zest directly to the blender. Spread to ⅛ inch thick on a lined dehydrator tray and dry at 140°F for 7 to 9 hours. Mango leather stays tacky longer than berry or stone fruit leathers due to its high natural sugar content, so don’t pull it early — wait until the center passes the fingertip test before removing it from the tray.
Storage, Shelf Life, and Packing Tips
Once your leather has cooled completely to room temperature, cut it into strips using kitchen scissors or a pizza wheel — both tools give you clean, even cuts without tearing. Roll each strip in a 6-inch piece of parchment paper, twisting the ends closed like a candy wrapper. This keeps the strips from sticking together and makes them easy to grab and go. Avoid using plastic wrap directly against the leather for long-term storage as it can pull at the surface and cause tearing.
- Room temperature: Store in an airtight container or zip-lock bag for up to 1 month
- Refrigerator: Extends shelf life to 1 to 2 months with no change in texture or flavor
- Freezer: Fruit leather freezes exceptionally well for up to 12 months — thaw at room temperature for 15 to 20 minutes before eating
- Humidity warning: Moisture is the enemy — keep stored leather away from heat sources, direct sunlight, and humid environments
- For hiking or travel: Individual parchment-rolled strips packed in a zip-lock bag are ideal — lightweight, compact, and shelf-stable
If you notice any condensation inside your storage container within the first 24 hours, your leather likely needs a bit more drying time. Remove it, return it to the dehydrator for another 1 to 2 hours at 140°F, let it cool fully again, and re-store. Properly dried and stored fruit leather should show no signs of mold or off-odor for the duration of its shelf life.

Image from chefani.com.
Frequently Asked Questions
After making your first batch, you’ll almost certainly run into a few questions — especially if something didn’t turn out exactly as expected. These are the most common ones.
Can You Make Fruit Leather Without a Dehydrator?
Yes, absolutely. Set your oven to its lowest temperature setting — ideally between 140°F and 170°F — and line a rimmed baking sheet with plastic wrap or a silicone baking mat. Spread your puree to ⅛ inch thick, then prop the oven door open 2 to 3 inches using a wooden spoon or heat-safe object. This allows moisture to escape, which is essential for proper drying. Most oven-dried leathers take between 6 to 10 hours depending on the fruit and your oven’s lowest temperature. The result is completely comparable to dehydrator leather — just slightly less energy-efficient and requiring a bit more attention throughout the process.
How Long Does Homemade Fruit Leather Last?
- Room temperature (airtight container): Up to 1 month
- Refrigerator: 1 to 2 months
- Freezer: Up to 12 months
The key variable in shelf life isn’t actually the storage method — it’s whether the leather was fully dried before storing. Leather that still contains residual moisture will develop mold within days regardless of how it’s stored (unless frozen). When in doubt, add extra drying time rather than pulling it early.
Can You Mix Different Fruits Together in One Leather?
Not only can you mix fruits — it’s one of the most enjoyable parts of making your own leather. Strawberry-peach, mango-pineapple, plum-apricot, and blueberry-banana are all excellent combinations. The general rule is to pair a higher-moisture fruit with a lower-moisture one to keep your total puree volume balanced and your drying time reasonable.
The one thing to watch when mixing is sugar content. Some fruit combinations — particularly mango with pineapple or strawberry with banana — produce a naturally very sweet puree that concentrates intensely during drying. Taste your blended puree before spreading and adjust accordingly. Adding a small squeeze of citrus to mixed-fruit leathers almost always improves the overall flavor by adding brightness and preventing the sweetness from feeling flat.
Why Is My Fruit Leather Sticky After Drying?
Stickiness after the full drying time almost always means one of three things: the puree was spread too thick, the dehydrator temperature was too low, or the leather was pulled before it was fully done. Return it to the dehydrator at 140°F and check every 30 minutes using the fingertip test. High-sugar fruits like mango will always feel slightly tacky on the surface even when fully dried — this is normal and different from the wet, soft stickiness of an underdone leather. If stickiness persists even after extended drying, lightly dust the surface with a small amount of tapioca starch or arrowroot powder, which absorbs surface moisture without affecting flavor.
Is Homemade Fruit Leather Healthy?
Homemade fruit leather made from whole fruit with no added sugar is a genuinely nutritious snack. It retains the fiber, vitamins, and natural plant compounds from the original fruit in a concentrated, shelf-stable form. Because you control the ingredients entirely, you can make versions that are free from the high-fructose corn syrup, artificial dyes, and preservatives found in most commercial fruit snacks.
That said, it’s worth keeping portion size in mind. Because the drying process removes water and concentrates everything — including natural sugars — fruit leather is calorically denser than fresh fruit. A single strip of strawberry leather made from 2 cups of fresh strawberries contains the concentrated sugar of those entire 2 cups in a much smaller volume, which makes it easy to eat more than you would if you were eating the fruit whole.
- No added sugar versions: Use only ripe fruit and lemon juice — naturally sweet and fiber-rich
- Lower sugar tip: Blend in leafy greens like spinach — the fruit flavor masks it completely and you boost the nutritional profile significantly
- Allergy-friendly: Naturally gluten-free, dairy-free, and vegan when made without honey
- Kid-friendly: A practical way to increase fruit intake for picky eaters who resist whole fruit
The bottom line is that homemade fruit leather beats store-bought in every nutritional category when made with whole fruit and no unnecessary additives. It’s a snack you can feel genuinely good about making and eating!
Featured Image from divascancook.com.

Related Posts
-
 [Video] How to Harvest & Store Onions
- [Video] How to Can Tomatoes In a Water Bath Canner
- How to Make & Store Homemade Pesto: Top Recipes & Preservation Tips
- Your To-Do List for September
- Vacuum Sealing Fresh Vegetables: Best Storage Tips & Tricks
- The Thrifty Gardener’s Guide to Food Preservation On a Budget


